Let's try this again!


Despite all the evidence that points to the contrary, I did not fall off the face of the earth. It's been an incredibly busy summer and I just haven't been able to find time to sit down and type about it. Just to give you a run down of what we've been up to:

 This first one is just a simple sepia. For those of you who don't know, I'm not a big fan of actions. Kind of like cheating to me, but to each his own. Personally, they're just not for me. I'm going to try to do little better with details of process.


 Read more...


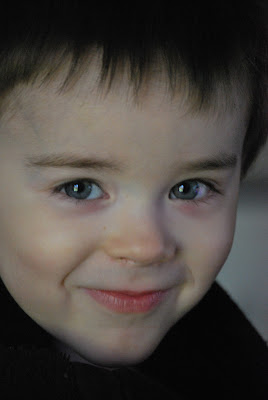
 Time again for my new weekly addiction, Fix-it Friday! Since last week was my first time doing this, I decided that this week, I would do a few more edits. And because I forgot to mention last week, I use Photoshop CS3 and a bamboo graphic tablet. Here's the original:
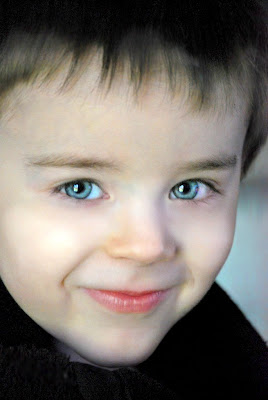
 Don't know where they find these cuties, but I just love his cheeky grin. This original photo is pretty dark, so I did a levels adjustment to brighten it up overall, but I didn't want to lose too many of those dark tones. There's also not a lot of color, so I did a hue/saturation layer to bring up the cyans and some of the yellows and magentas.....I just realized how long this whole explanation is going to be....ugh. ANYWAY, here's the first edit. Just a basic "fix".
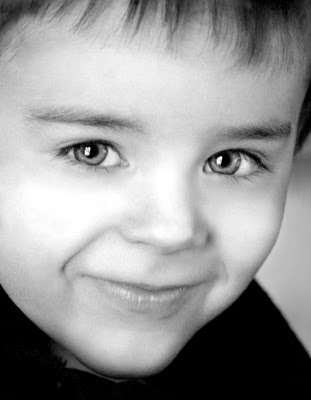
 On this second one, I wanted to make it a little more dramatic. So, I turned it into a black and white image, sharpened it (b/c I don't like blurry b&ws), and did a levels adjustment to bring out some contrast. What I didn't mention before is that I went in with the paint brush to put in some highlights. Since it's so dark, there's not a lot of depth in the photo. I used white on the PB set to about 5% and painted some white highlights on his lips, cheeks, eyes, nose, etc...just to give the illusion of some natural light. Then I cropped it with a little rotation.
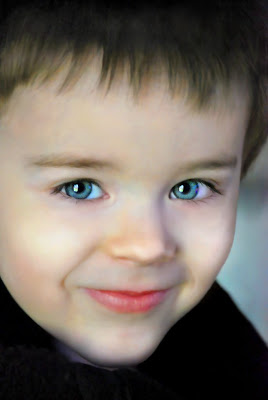
 Finally, I did another digital painting. I think I might try to do one of these every week. I know it looks similar to the first one, but I used the smudge tool along with a ton of other tricks to give it a oil-painting effect. Instead of explaining everything here, I might just do a tutorial in another post later if anyone actually wants to learn this whole process.
For those of you who don't know, I have a cat with an unusual name. Actually, both of my cats have unusual names, but we'll get to that at a later date. Back to the topic at hand....when I got this particular kitty, I knew I wanted a white cat. I know, I know...seems kind of snobby to search for an animal based on looks, but I previously had 2 black dogs and a white couch...I NEEDED a white cat. After endless searching, I found this kitty who was in a cage all by himself at a pet store (don't judge, I tried contacting the animal shelters and they SUCK at returning calls especially when they don't have a physical location). Anyway, there were other kittens there, but he was still all by himself, and me being a sucker, I couldn't just leave him all alone. He just happened to be a white kitten. Well, not ALL white, but mostly. He has a long black tail, three black spots on his back, and his black "hair-do" on top. He was the ugliest kitten you've ever seen. He's grown to be a gorgeous cat, but he was just stringy and ugly as a kitten. I'll have to find his kitten photos so I can prove my point even better. That's right, there's a point to all of this.


 Read more...
Prepare to be bombarded with cuteness. I only took about 450 photos of Audrey and Charlotte and this is what I finished in the past hour and a half. Wish I had a few of these a couple of days ago. I could have entered one of these into iHeartFaces's contest :)


© Blogger template Shush by Ourblogtemplates.com 2009
Back to TOP